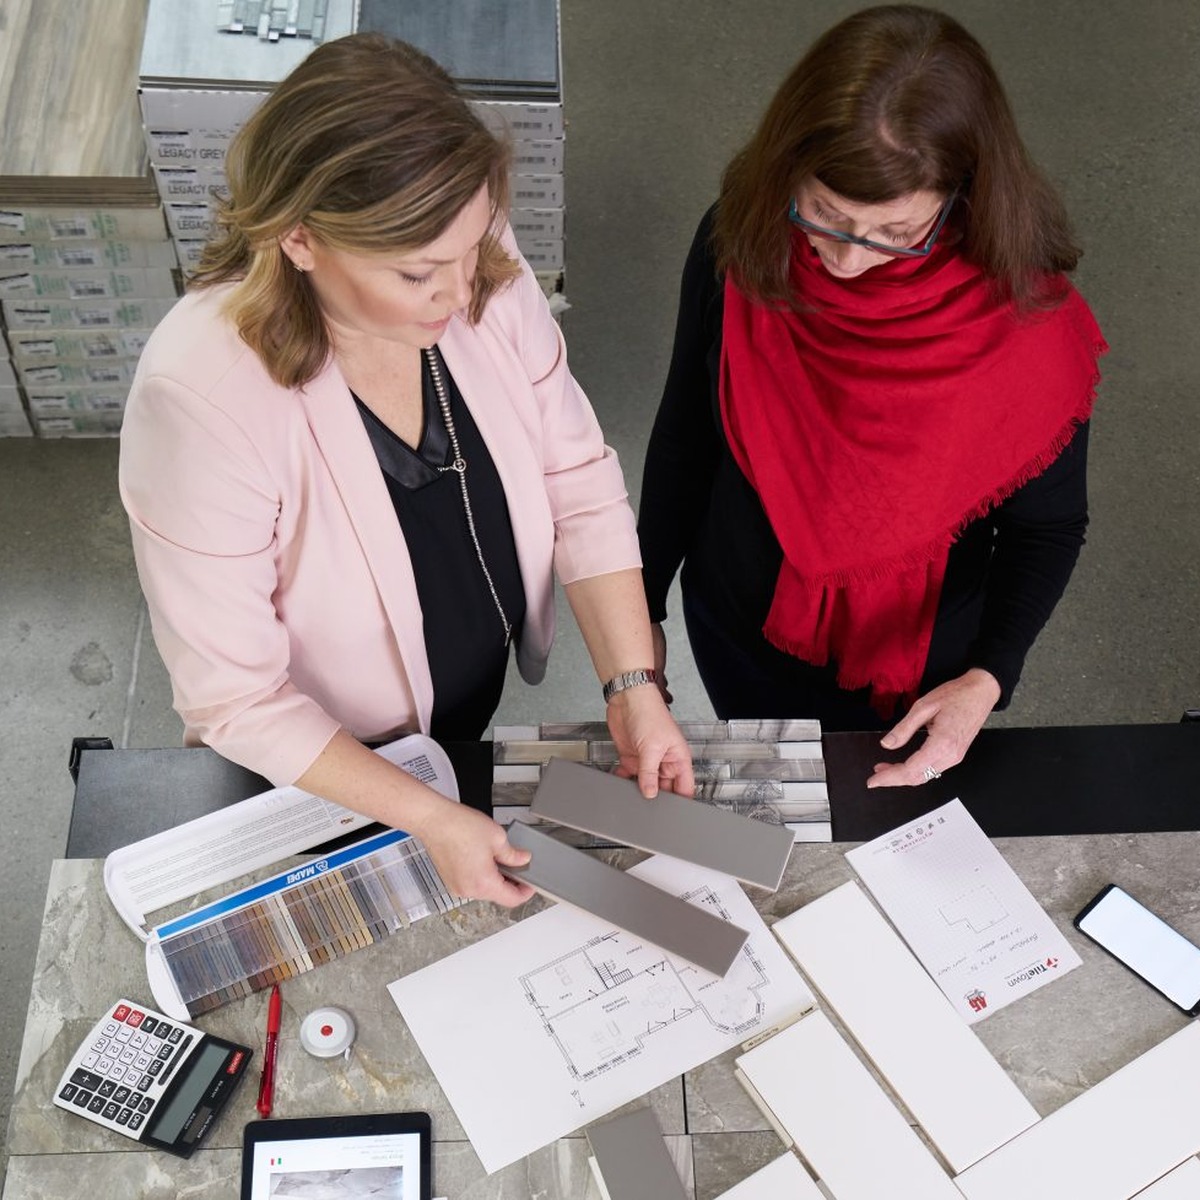
A simple pre-installation checklist for avoiding shortages, mismatched batches and the kind of last-minute hardware-store run nobody puts on the mood board.
The tile has arrived. This feels like progress because it is progress. It is also the point where many renovation mistakes quietly put on a hard hat.
Before anyone opens a bag of mortar, take an hour to inspect the order, confirm the plan and gather the less glamorous products that keep the pretty tile attached to the wall. Whether you are doing the work yourself or hiring an installer, this checklist can save time, money and a deeply unnecessary emergency trip across town.
1. Open the Boxes Before Installation Day
Do not leave the tile sealed in a corner until the installer arrives. Check the product name, size, colour and quantity against your order. Look for visible damage and confirm that boxes intended for the same surface share the same production or batch information where applicable.
If the order was delivered, photograph damaged packaging and affected pieces right away. Tile Town’s current terms ask customers to report delivery damage or incorrect items within 48 hours, so this is not a task for Future You. Future You has moved on and already has grout questions.
Keep the boxes and labels until you know the order is correct. Do not install a product that appears wrong or damaged; installed tile is generally treated as accepted material.

Tribeca Oatmeal is intentionally varied, so open several boxes and assess the blend before installation.
2. Confirm You Have Enough Tile
Measure twice, order once and include enough extra material for cuts, pattern matching, breakage and future repairs. Tile Town’s current ordering guidance recommends 15 to 20 per cent overage, though the right amount can vary with the layout, tile size and complexity of the room.
Straightforward rooms with a simple stacked layout may create less waste than herringbone, diagonal installations or spaces with enough corners to qualify as a personality test. Use the calculator on the product page as a starting point, then confirm the amount with a Tile Town team member or installer.
If you need more tile later, another production batch may not be an exact colour match. Buying the full quantity at once gives you the best chance of a consistent result.
3. Dry-Lay the Tile and Mix Several Boxes
Before installation, lay out a representative section on the floor using pieces from several boxes. This lets you see the real colour range, pattern and variation rather than judging the entire project by one unusually charismatic tile.
Products such as Tribeca Oatmeal have noticeable shade variation, while stone-inspired options such as Heritage Nude and Stage Taupe may include movement intended to make the finished surface feel natural. Mixing pieces across boxes helps distribute that variation rather than creating accidental colour zones.
Take a photo of the approved dry layout, especially for feature walls, niches or areas where a veined tile needs to flow in a particular direction.
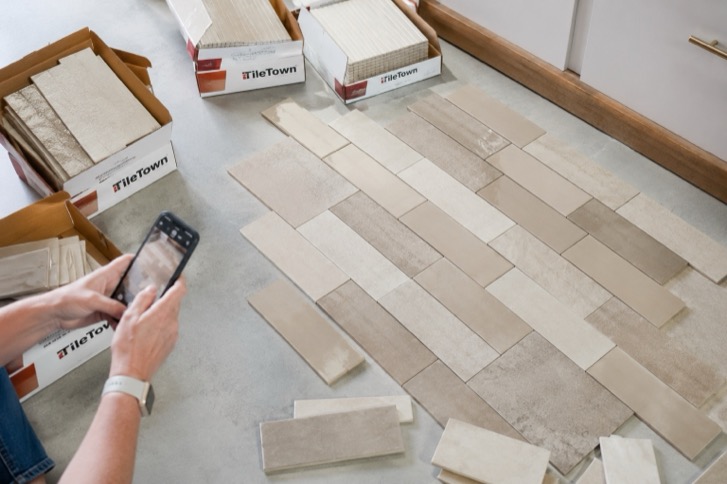
Dry-laying tile from several boxes before installation helps reveal the full colour range and create a more balanced, natural-looking finish.
4. Decide the Layout Before the Adhesive Is Mixed
Confirm where the first full tile will sit, where cut pieces will land and how the pattern meets corners, cabinets, tubs, outlets and doorways. Centre lines that look logical on paper can create tiny slivers at one edge, which is rarely the artisanal detail anyone was hoping for.
This is also the time to choose grout colour, joint width, edge trim, transitions and any niche or shelf details. A close grout match creates a calmer surface. Contrast makes the pattern more graphic and also makes every grout line volunteer for attention.
Bring your tile, cabinet, countertop and/or images and paint samples to a complimentary Tile Town design consultation. A consultant can build a flatlay, compare grout and trim options and help identify clashes before they become permanently attached to the wall.
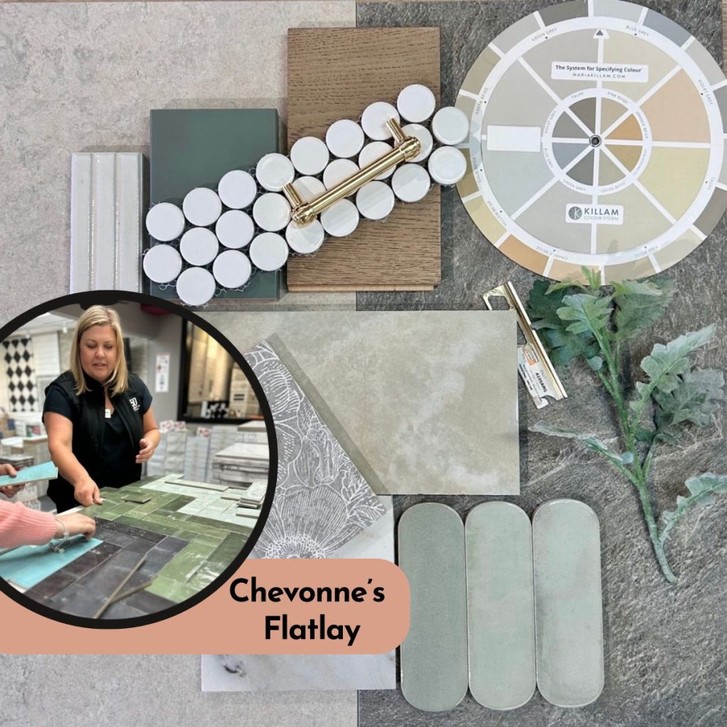
A flatlay helps test tile, grout, wood, paint and metal finishes together before installation.
5. Match Every Installation Product to the Job
Tile is only one part of the system. The right preparation product, mortar or adhesive, grout, caulk, membrane, trim and sealer depend on the tile, substrate, location and exposure to water or heat.
Tile Town carries surface-preparation products, adhesives and mortars, grout and colourants, caulk and sealants, floor-heating products, tools, finishing pieces and cleaners. Ask which products are compatible rather than assembling the installation aisle by vibes.
For showers, exterior areas, fireplaces, heated floors and large-format tile, get project-specific advice. Product requirements can differ, and fixing the system underneath tile is considerably harder once the tile is on top of it. Architecture: always hiding the important bits.
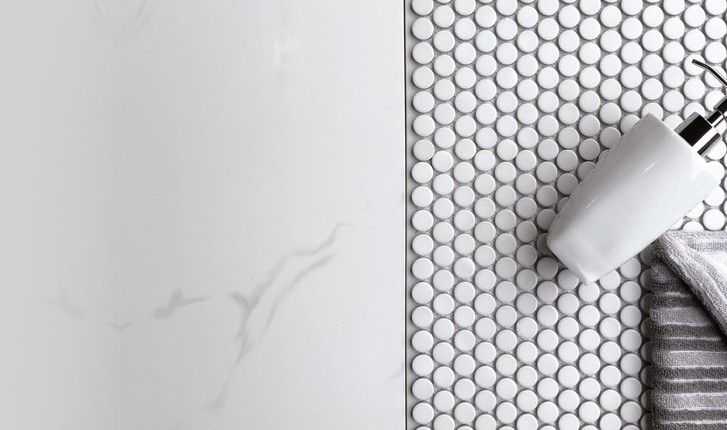
Choose preparation, setting, grout and finishing products for the tile and application, not as an afterthought.
6. Prepare the Room and the Delivery Plan
Clear furniture, fixtures and loose items from the work area. Confirm access, parking, elevator bookings and where the tile can be stored flat, dry and close enough to the room that carrying it does not become an unofficial CrossFit class.
Tile is heavy. If your order is arriving by curbside delivery, plan who will move it from the curb and where it will go. Protect floors and pathways, keep pets away from open boxes and make sure the work area has suitable lighting and power.
Your installer may also need time for surface preparation before the first tile is placed. “Tile day” is sometimes “discover what the old floor was doing under there” day. Leave room in the schedule for reality.
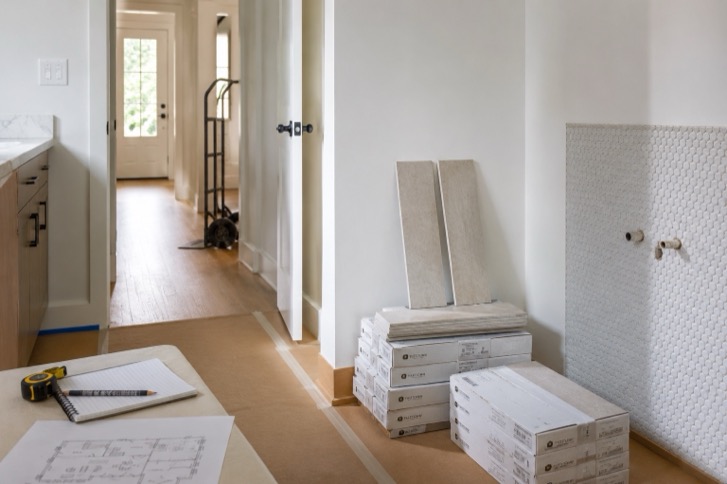
A little planning before tile day, from clearing the room to protecting floors and storing heavy boxes safely, can help the installation run much more smoothly.
7. Know When to Call a Professional
A small, straightforward backsplash can be a satisfying DIY project. A shower waterproofing system, exterior installation or complicated large-format layout is a less charming place to learn through consequences.
Tile Town can provide practical product guidance and connect customers with recommended local tile professionals. If you are hiring an installer, share the product specifications, approved layout and materials list before work begins so everyone is working from the same plan.
One Calm Hour Beats One Chaotic Week
Before installation, inspect the order, confirm the quantity, dry-lay the variation, approve the layout and gather every product the system requires. It is not the glamorous part of a renovation, but neither is paying someone to remove freshly installed tile.
Use Tile Town’s Room Visualizer while planning, browse installation and care products, visit one of the five Tile Town showrooms or book complimentary design help before tile day. Your future self may not send flowers, but she will be noticeably less furious.
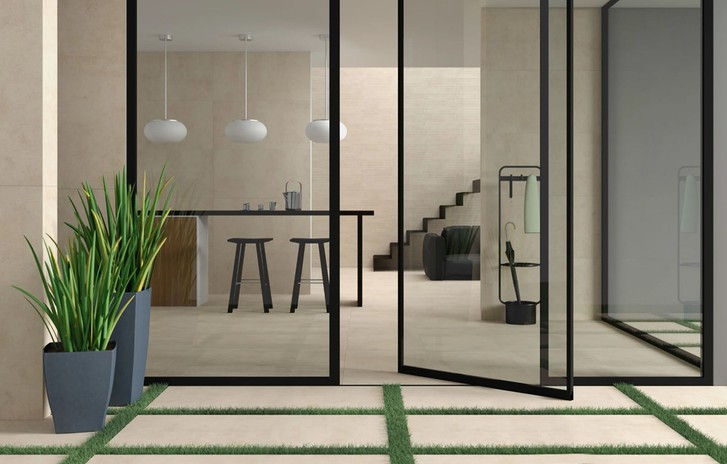
A full-room preview helps show how tile colour and scale may read across the space.