Close your eyes and picture your dream kitchen: smooth granite countertops, state-of-the-art appliances, Italian floor tiles, and a chic backsplash with incandescent lights adding that perfect glow. A well-thought-out plan combined with design research can give you that perfect before-after picture of your kitchen’s stunning transformation!
Here’s our step-by-step process on how to remodel your kitchen:
Step 1: Define your needs
Start with a thorough assessment of your existing kitchen setup, analyze its flaws and define the needs of your dream kitchen. Make a note of the number of people that will frequent your kitchen, moving space required, number of cabinets, storage area for your appliances, types of fixtures, and other essential requirements.

Step 2: Research and budget
Next, take a digital dive into your Instagram’s archived posts, Houzz’s bookmarked articles, and the #dreamkitchen pins on your Pinterest board to draw inspiration for your new kitchen. If you are a novice to the search, worry not! Visual platforms like Instagram, Houzz, and Pinterest allow you to discover designs that reflect your style.
We also recommend creating a budget for your kitchen makeover. Remember to be flexible as your needs and costs may change during the design process.

Step 3: Get professional help
Remodelling a kitchen involves several tasks – from drafting contracts and permits, building kitchen cabinets, laying tiles and backsplash to buying fixtures and appliances. The entire project demands all this and more while sticking to your budget. You can either work directly with a contractor or hire an interior designer to handle everything from start to finish.
Step 4: Plan the layout
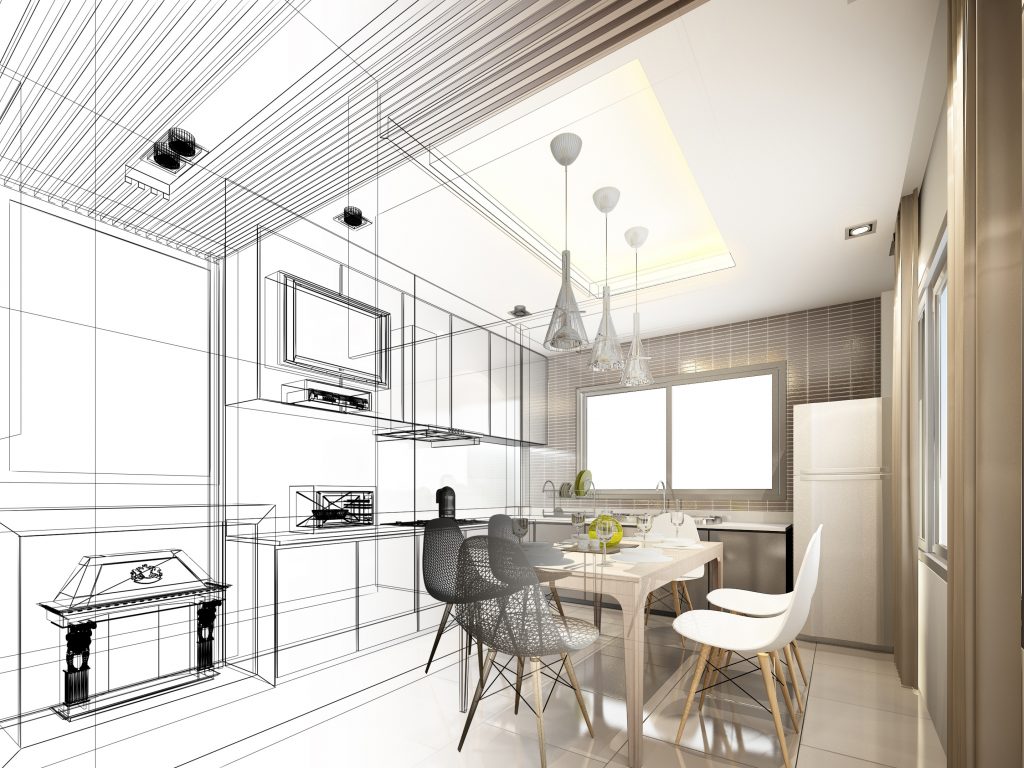
The fourth step of remodelling your kitchen is planning the space and layout. Here’s where your list from Step 1 will guide your designer in making preliminary floor plans and elevations showing layout and cabinet sizes. These plans will give you an estimate of the materials required and the cost of remodelling your kitchen.

Step 5: Select the fixtures and finishes
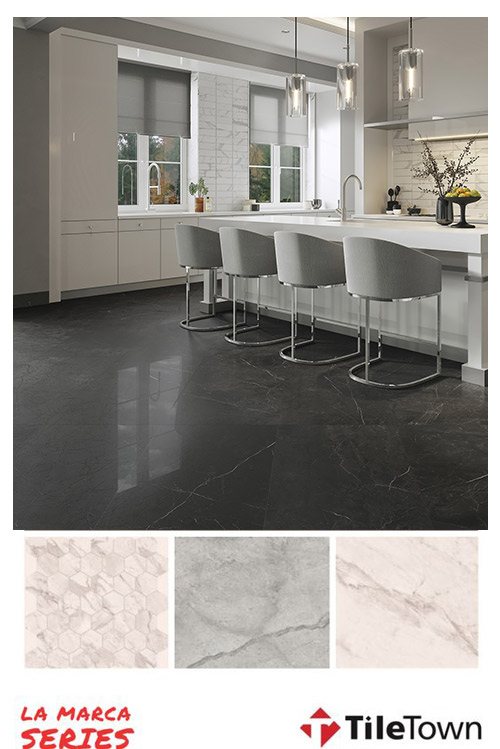
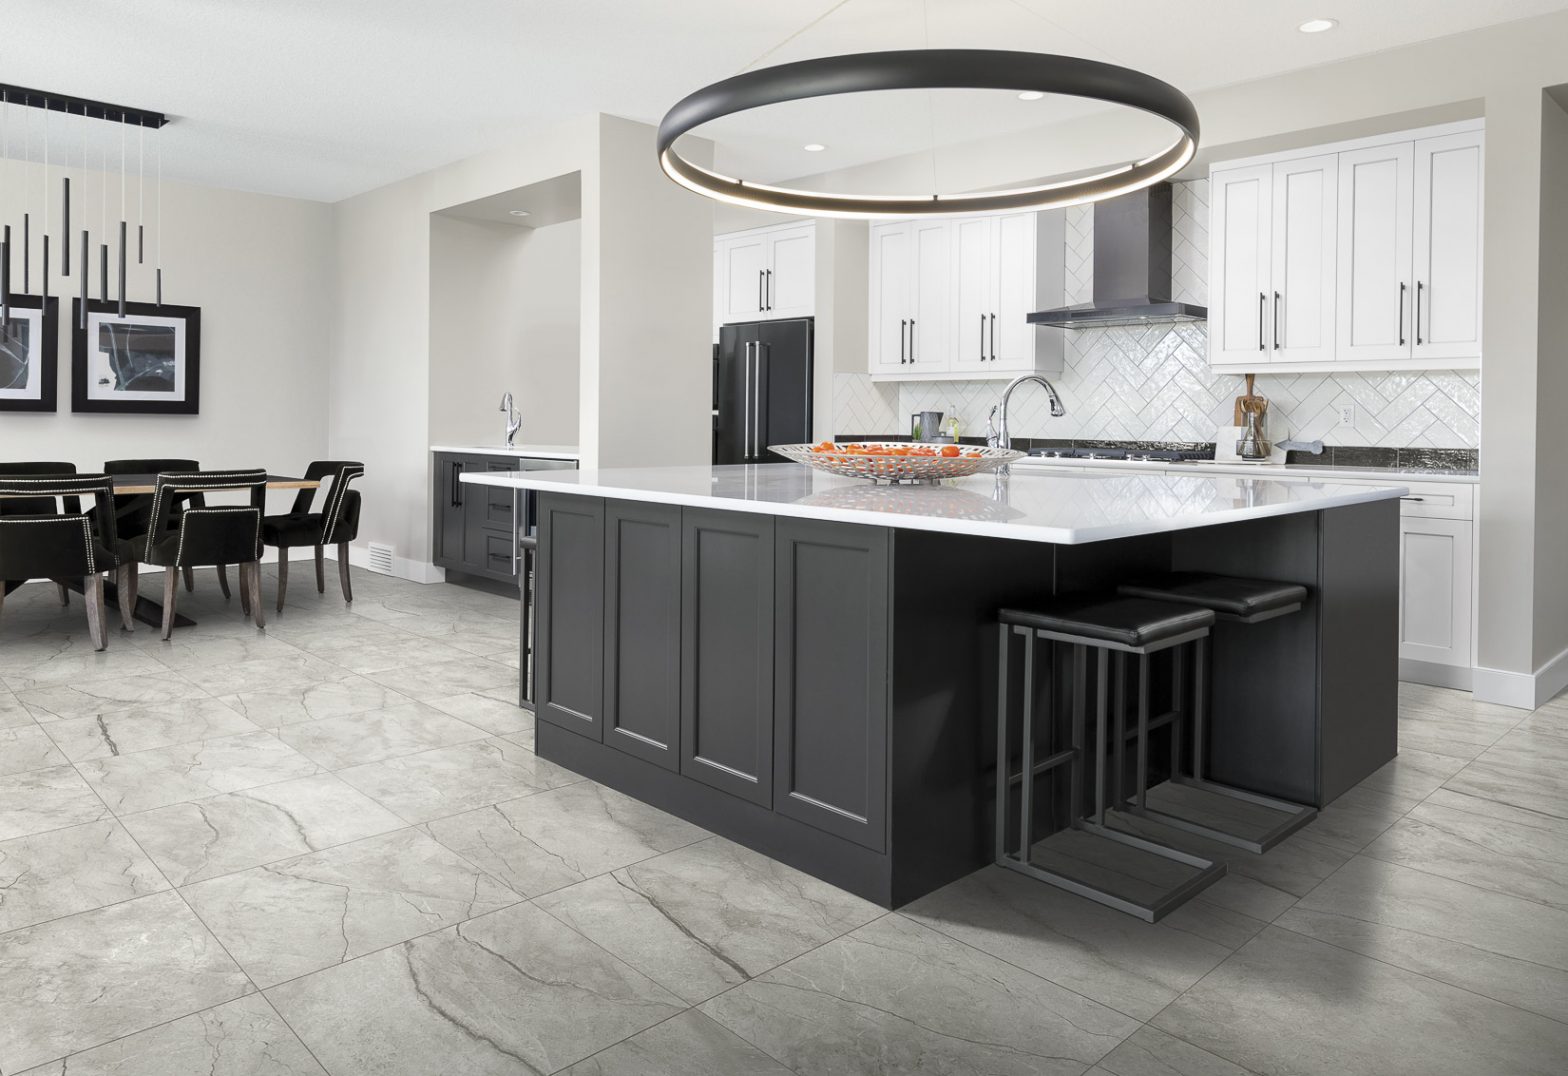
Now that you have finalized the kitchen design that compliments your style, it’s time to bring those ideas to fruition. At the fifth step, we suggest selecting the finishes and fixtures for your new kitchen. This includes cabinets, countertop material, kitchen sink, floor tiles, backsplash, appliances, light fixtures and much more. From minimalist to gorgeous intricate patterns; there are many backlash designs available for your kitchen. Remember to select floor tiles and backsplash that complement the theme and style of your kitchen.
Browse inspirational ideas for kitchen floor tiles and backsplash on Tile Town.
Step 6: Finalize design developments
A designer will prepare the final floor plans, elevations and more for your new kitchen and submit them for permits. At this stage, we suggest finalizing the contractor. Be sure to review samples of the contractor’s previous work and negotiate on price.
6. The time for action/remodelling
The real action begins! After receiving the permits, clean out the kitchen and either set up a temporary one during the construction or move out of the house. Discussing logistics with your contractor regarding tasks like tile flooring, removal of debris and planning your move accordingly.
7. Punch list
A punch list notes certain items that might be wrong or missing after the construction is finished. This list is either compiled by you or the designer. In most cases, the final touch ups do end up taking multiple visits by the contractor, but the ultimate prize is the kitchen of your dreams.
Ready to get started to remodel your kitchen? Try Town Square – our design tool that helps you find the perfect tile for your project. It’s simple, it’s free, and it helps us help you better.
